
Check-In App Setup
The ECLIPSE Check-In App allows your patients to enter subjective information via their cell phones on a downloadable app. You must have an active ECLIPSE subscription to use this feature.
At this time, the check-in app works solely with single-directory versions of ECLIPSE. If you have a multi-directory version of ECLIPSE, the app will work with the main directory.
An Overview
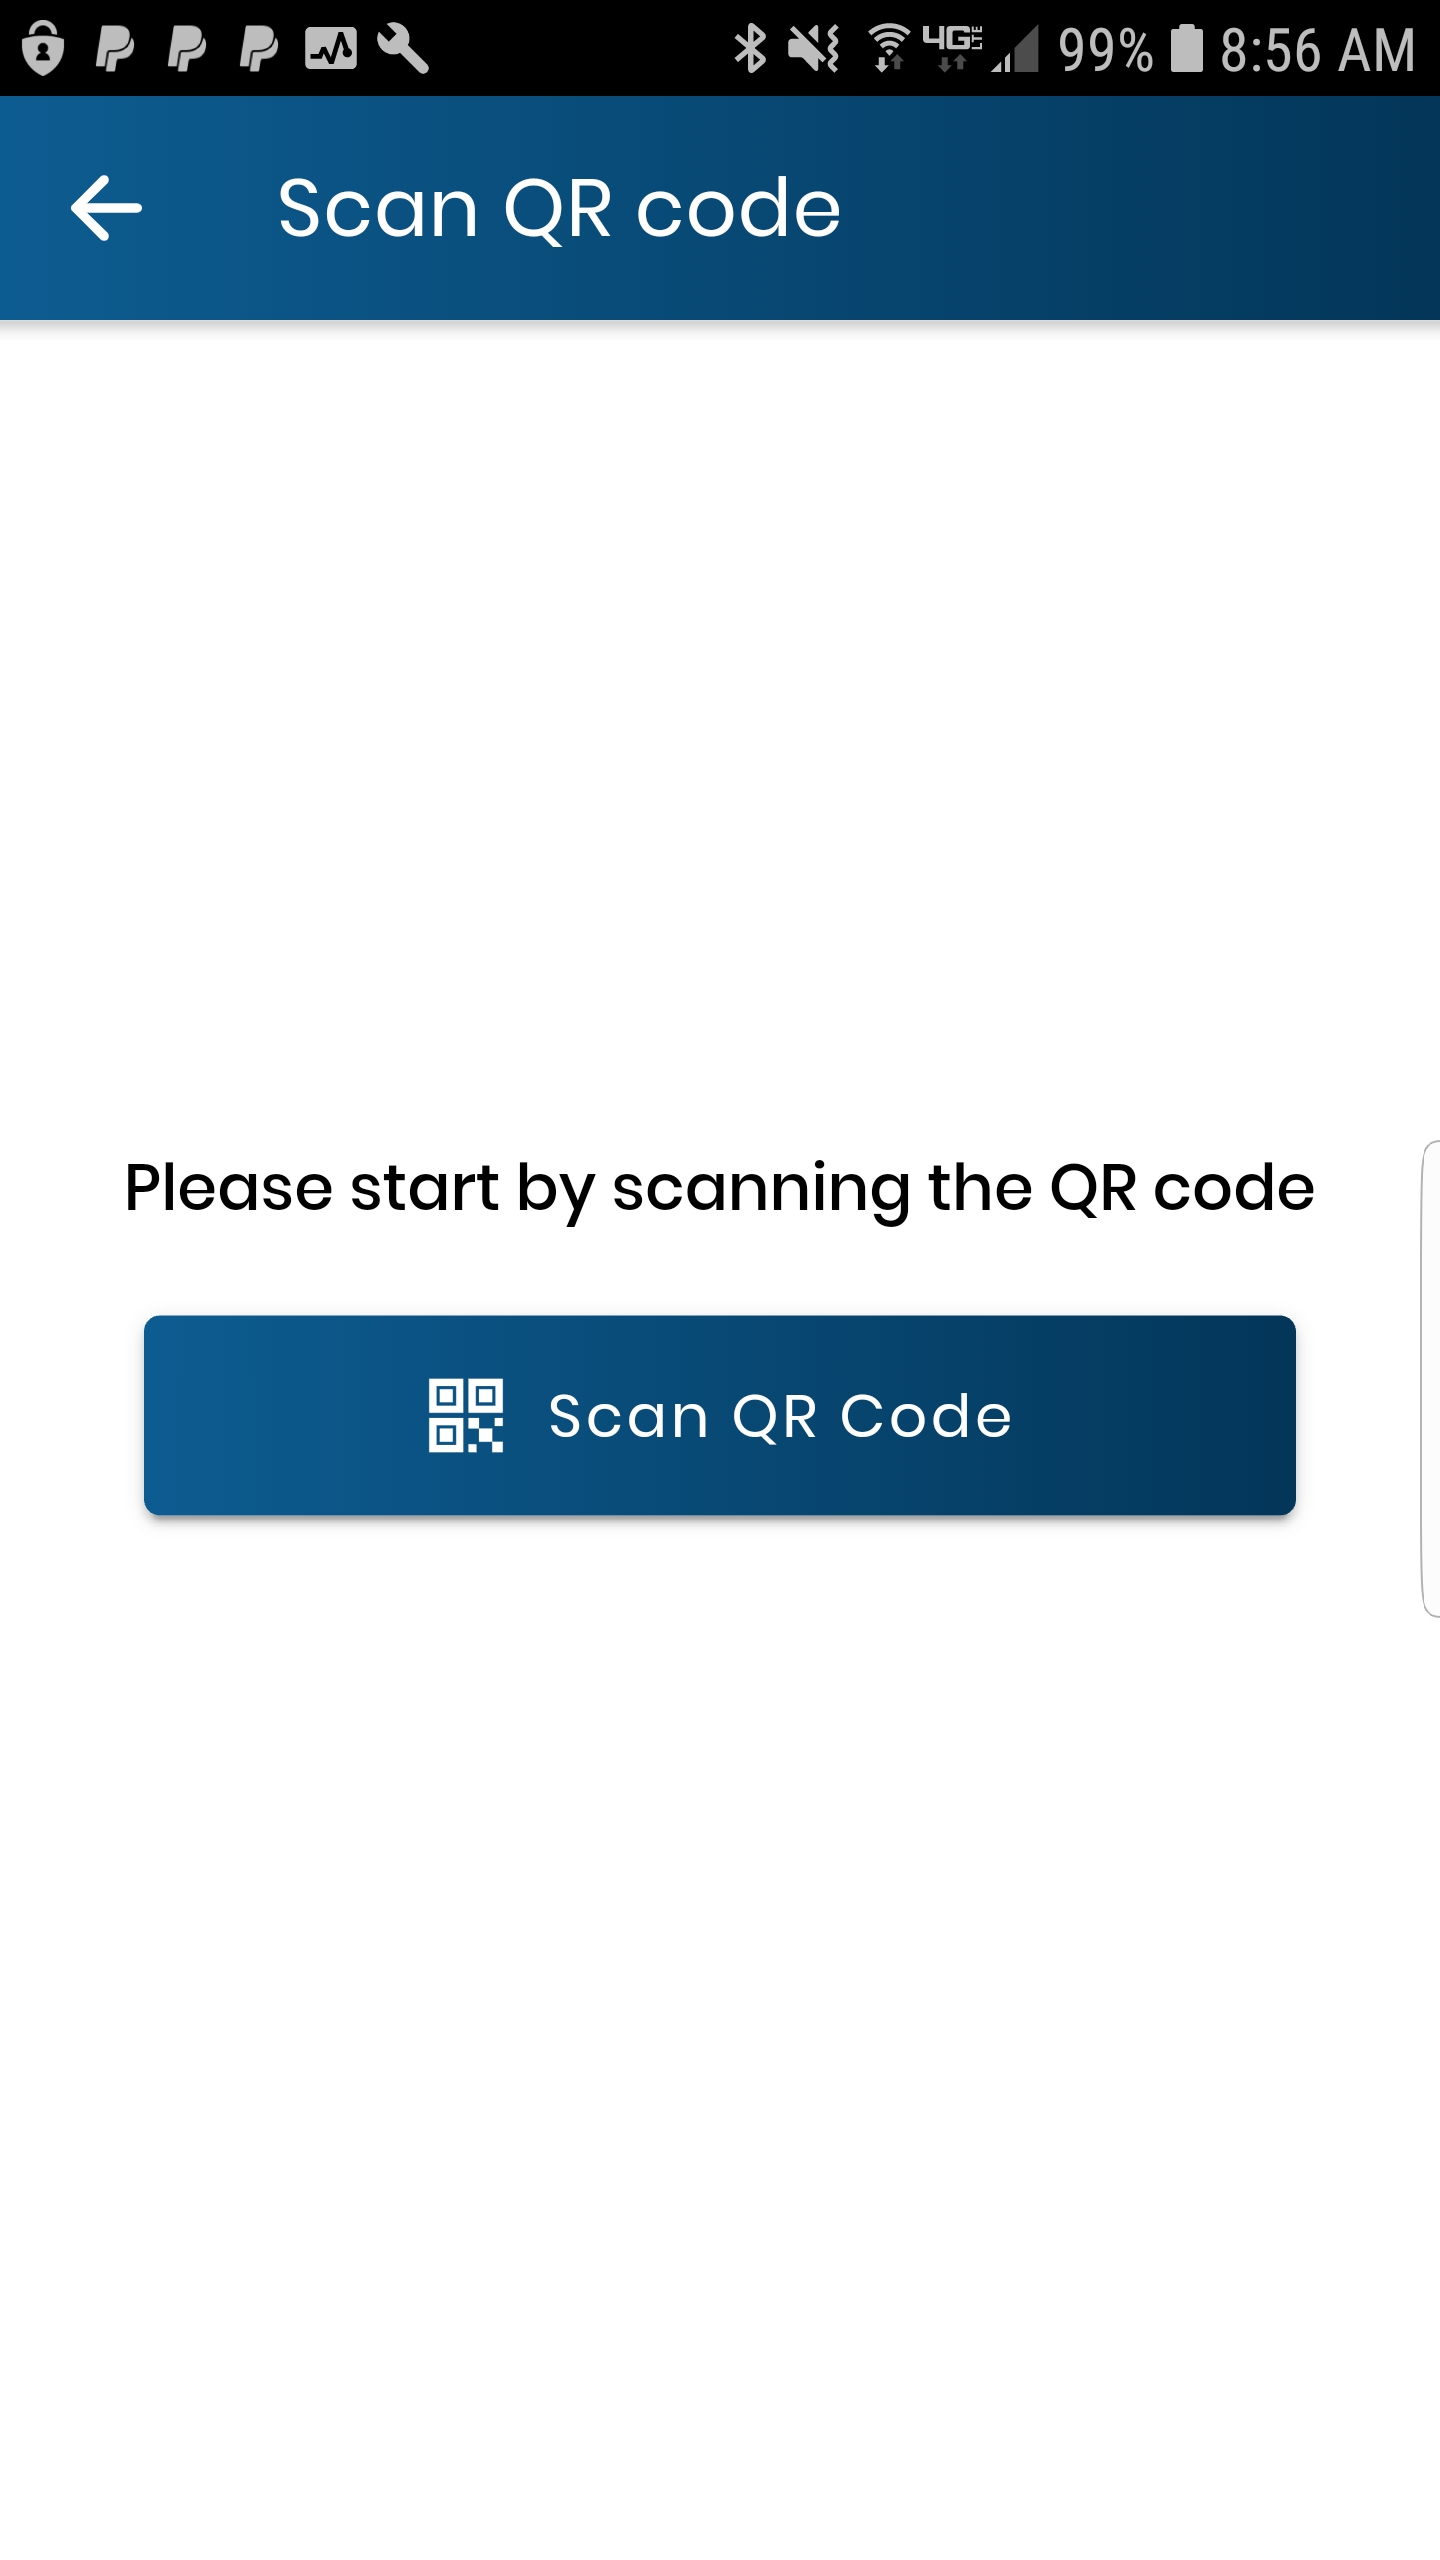
- After arriving at your office, optionally signing in, and speaking with front desk personnel, the patient can scan a QR code using the ECLIPSE Check-In app. The app works with:
- iPhones (available for free from the Apple store).
- Android phones (available for free from the Google Play store).
- iPads (specifically for use in-office for patients without access to the cellphone types noted above — including children/family members who may not own cellphones).
- Scanning the QR code — which is unique to your office (via your ECLIPSE license) — ensures that the data entered by the patient is routed to your computer system after it travels to our cloud servers from the patient’s phone.
- Use our streamlined, patient-tested questions, supplement them with your own, or bypass ours entirely.
- You can retrieve the patient’s information from the ECLIPSE KIOSK tab & then create a new Encounter by merging this subjective information with a new or existing Encounter.
- Each submission is automatically date / time stamped & added to the audit log as independently verifiable proof that the patient was physically in your office.
- An active ECLIPSE subscription is required to use this service. Though subject to change, there are currently no additional fees.
Setting Up Your Cloud Account from ECLIPSE

Registering your office. In order to use the Check-In app, you must first create an account on our cloud server. To ensure HIPAA integrity, this is a partly automated process that you can launch from your ECLIPSE configuration. Select System from the File | Utilities | Configuration menu & enter your password. From the General tab, click on the More Options menu button & select Mobile App Setup. The pop-up dialog box will be pre-configured with information pulled from Doctor “0” in ECLIPSE. You can edit this information — some of which will be displayed to patients as they confirm the facility selected via their QR code during the Check-In process. Press the Register button to register your practice.
When the registration process is complete (this should take < 30 seconds), we will display your QR code. Your QR code is unique to your office & corresponds to your ECLIPSE license #. You can also print the QR code at any time by selecting Open Mobile App QR code from the Help menu. ECLIPSE will launch the QR image file using the default software available for that purpose on your computer (e.g. Microsoft Photos). You can print this out or include it within a printed document that you post within your office for easy access by your patients. If your systems generates an error when you attempt to display the QR code, you will need to associate a different Windows app with the image. You can watch a video explaining the above process by clicking here.
Customizing the ECLIPSE Check-In App
You can customize the app for your practice [license #] from the same screen you used for registration [cloud setup] as noted below. We suggest you familiarize yourself with the app before adding any customizations. You can modify your customizations at any time. They will be updated automatically within the app on its next use by any patient.
- Create a comment/question such that the patient’s response will be directed to your staff & displayed in the KIOSK grid. (This response will not become part of the subjective data.) This is a great place to implement practice building concepts (which you can change daily/weekly/monthly/etc.). For example:
- Monday night, we’re offering an in-office seminar @ 7pm to discuss stretches you can perform in the workplace. Which friends would you like us to invite?
- Would you like a chair massage while you’re waiting for your appointment?
- Come to our Open House to meet our new doctor this Saturday @ 1PM.
- Would you like to schedule an Acupuncture consult?
- Create as many as 5 custom Encounter questions. Patient responses will be formatted — along with your questions — as part of the patient’s subjective text. Questions can be one of 3 types:
- Text. The patient can respond using free form text.
- Checkbox. The patient can select Yes/No in response.
- Checklist. Create a list of items. The patient can check one or more items. Use the Add Items button to add text. This button will be grayed out for the two other types above.
- Optionally bypass all the default questions in the app. Warning: Our subjective questions (which patients can move through with as a few as 3 clicks) help ensure you meet standard state & federal practice guidelines. Bypassing these questions may jeopardize the outcome of an audit & may fall short of your state board’s minimum standards.
- Any custom questions you add will appear after your patient presses the Submit button following data entry & confirms they’re ready to submit data. These questions will be proceeded by the phrase “Your Provider Has Some Additional Questions For You” under a new heading: “From Your Provider.”
ECLIPSE Setup
Before you begin… you must configure ECLIPSE to “look” for KIOSK data on your network. To do this:
- Access your configuration from the File | Utilities | Configuration menu.
- Select the Import/Export/Email tab.
- Check the box labeled Automatically listen for activity from patient KIOSK applications.
- This must be repeated at each workstation where you want to receive KIOSK communications.
- The KIOSK Queue tab will automatically launch when you run ECLIPSE. However, you can manually re-launch it from the File | Data Import/Export | KIOSK menu by selecting Launch Queue.
ECLIPSE Check-In App
Patients can search for & download the ECLIPSE Check-In app directly from the Apple store (for iPhones) or Google Play store (for Android phones). Once they open the app, they must enter some basic information including their name, cellphone #, date of birth & email address. This information is used by ECLIPSE to help identify the patient as data is imported to the ECLIPSE KIOSK tab. Patients that are not matched by the system can be manually matched by you when you attempt to merge the data with an existing patient’s chart.
Once the app is installed, your patient can initiate a visit by selecting the Check In button & scanning a QR code within your office:
Once the code is scanned, the patient will be prompted to confirm the office information associated with the QR code. (You provided this during the registration process.)
The patient will then be asked: What caused this problem? Buttons allow them to select among: Workers’ Comp, Auto Accident & Other buttons. Each option has questions pertinent to the type of visit.
 Once they’ve completed questions specific to their selection, patients will be able to make further selections from an image of the body. Any body part selected will begin subjective questioning specific to the selected area. The patient will be able to:
- Process multiple body parts before submitting the results.
- Review & edit their entries prior to submitting them.
- Use their device’s keyboard as well as dictation to enter information.
Some questions are mandatory. Most are not. It’s possible to answer just 4 questions — or many more. Either path through the process can be routinely accomplished in a time interval of seconds to a minute or two as determined during live testing.
NOTE: An iPad version of this app is available from the Apple store. This app:
- Works differently from the cellphone apps.
- It’s designed for use by your office when a patient does not have a compatible cellphone handy.
- Each time you use it, you must scan the QR code.
- After you scan the QR code, you must enter a password. The password is your ECLIPSE license # (available from your ECLIPSE About dialog) followed by the day of the month. Thus, if your ECLIPSE license # is 75988 & today is 8/24/2021, the password each time you use the iPad app today will be: 7598824.
The KIOSK Queue
The KIOSK tab in ECLIPSE currently refreshes automatically every few minutes. You can also use the Refresh button to manually import new submissions. New submissions are automatically date & time stamped and then added to the audit log as independently verifiable proof that the patient was physically in your office. If the patient in ECLIPSE is successfully matched via email/cell#, DOB, etc.) & an appointment is located for the patient ID#, we will mark the patient as “Arrived.”
- Double-click any row to launch a patient folder. You will be prompted if the cellphone form wasn’t matched to an existing patient. Unmatched data will likely correspond to typos in ECLIPSE or the patient’s app. ECLIPSE attempts to match the cell phone # or the email address along with the patient’s DOB. If this process is successful, double-clicking the patient will launch the patient’s folder.
- A dialog box will display the data entered by the patient & give you a variety of options to create a new Encounter. Review the context-sensitive help for the KIOSK grid in ECLIPSE for an explanation. You can also search the Help file for the topics related to the word “KIOSK.” Then, review sections related to Merge / Import KIOSK data to an ECLIPSE Encounter…
- The patient may have indicated this is a new condition. You can review the subjective information before you make a decision as to how you’ll deal with it:
- Merge data with BLANK Encounter. Start a new (empty) Encounter and merge it with the subjective data entered by the patient. All data from the Check in App is imported as a single paragraph of formatted text to a blank Full Body template. If you don’t use the Full Body templates, use the copy options directly below.
- Merge data with EXISTING Encounter. Select a prior Encounter and merge this subjective data with the data from that Encounter. All prior subjective data is erased, and today’s subjective data is merged with remaining data in the Encounter you selected.
- Copy to clipboard & launch blank Encounter. The patient’s subjective data is copied directly to the clipboard as formatted (RTF) text. It’s up to you to paste it into a free form area of an Encounter.
- Copy to clipboard & select EXISTING Encounter. Data is copied to the clipboard as above and you select an existing Encounter (including subjective data) to edit for today. IMPORTANT NOTE: If you attempt to paste formatted text (RTF) from the app into a template field that already contains plain text, Microsoft Windows will disallow the paste operation. You must completely clear (remove) the existing plain text using the pop-up-editor, save the change, and then re-launch the editor to paste your data.
Once you commit & save the Encounter, the relevant row in the KIOSK will be deleted from the KIOSK Queue at all workstations.
Before you begin
Download the app & experiment with it from your own cellphone. Submit the information using your QR code. See how it provides data to ECLIPSE. (You can import it to a patient without actually saving the note.)
Create a form that can be displayed in your office. A sample Microsoft Word document can be downloaded by clicking here. The upper QR code image must be replaced with the QR code provided by ECLIPSE. The lower QR code image allows patients to download the app. Note that this app is currently available for Apple iPhone & Android phone users only.
In the Apple store, search for: eclipse check in.
In the Google Play store, search for: eclipse check in.
Important Notes Regarding Our Approach
Our approach has been refined from experience within our own busy multi-disciplinary practice as well as extensive feedback. Here are a few things you should know:
- This app does not run locally on your computer system. Nor does it run on a remote cloud server via a browser. It runs on the personal cellphones of your patients. You cannot remotely configure, control or change questions or flow within the app with the exception of the customizations noted above — which you can make directly in ECLIPSE.
- The app requires a password for the patient’s locally stored information. (None of the patient’s profile information is stored in the cloud. In other words, there is no cloud account associated with the patient.) Submissions are deleted from the cloud when they’re moved to the doctor’s local computer system. Deleting & reinstalling the app requires a new password & profile because any & all prior information has been removed.
- This app was tested & refined over many months via feedback from patients, doctors, and others. Testing demonstrated that patients can simply download, install & run the app with no special instructions.
- Though *you* can direct “maintenance” or cash patients to a fast path through the mobile app that indicates their symptoms are “same as last time” / “no changes,” we will not provide a simple question that allows them to avoid this Q&A process. Why? Our experience in live patient settings is clear. Patients take the easy way out. Unfortunately, that jeopardizes continued care, your documentation, and ultimately, the usefulness of this app. And for those of you who believe you don’t need to bother with documentation for such patients (e.g. cash patients), we suggest you contact your state chiropractic board regarding clinical documentation requirements in your state. If you choose to bypass our questions, don’t be surprised when an auditor refuses to recognize your subjective information as justification for treatment.
- In order to maximize flexibility, this app does not associate individual questions with specific variables/rows in the Encounter. Data is pre-formatted in the same manner as a finished Encounter note (based on your ECLIPSE configuration settings) and added to the subjective free-form section of the Full Body Encounter (or any template you use via the integrated copy/paste features):
- A single paragraph with no line breaks.
- A series of concepts (e.g. Motion & Pain with movement) separated by line breaks.
- If you refer to our related blog entry by clicking here, note that we capture one of several unique ID#’s associated with the cellphone used by the patient. This ID# is then added to the ECLIPSE audit log, which provides an indisputable electronic sign-in by the patient.